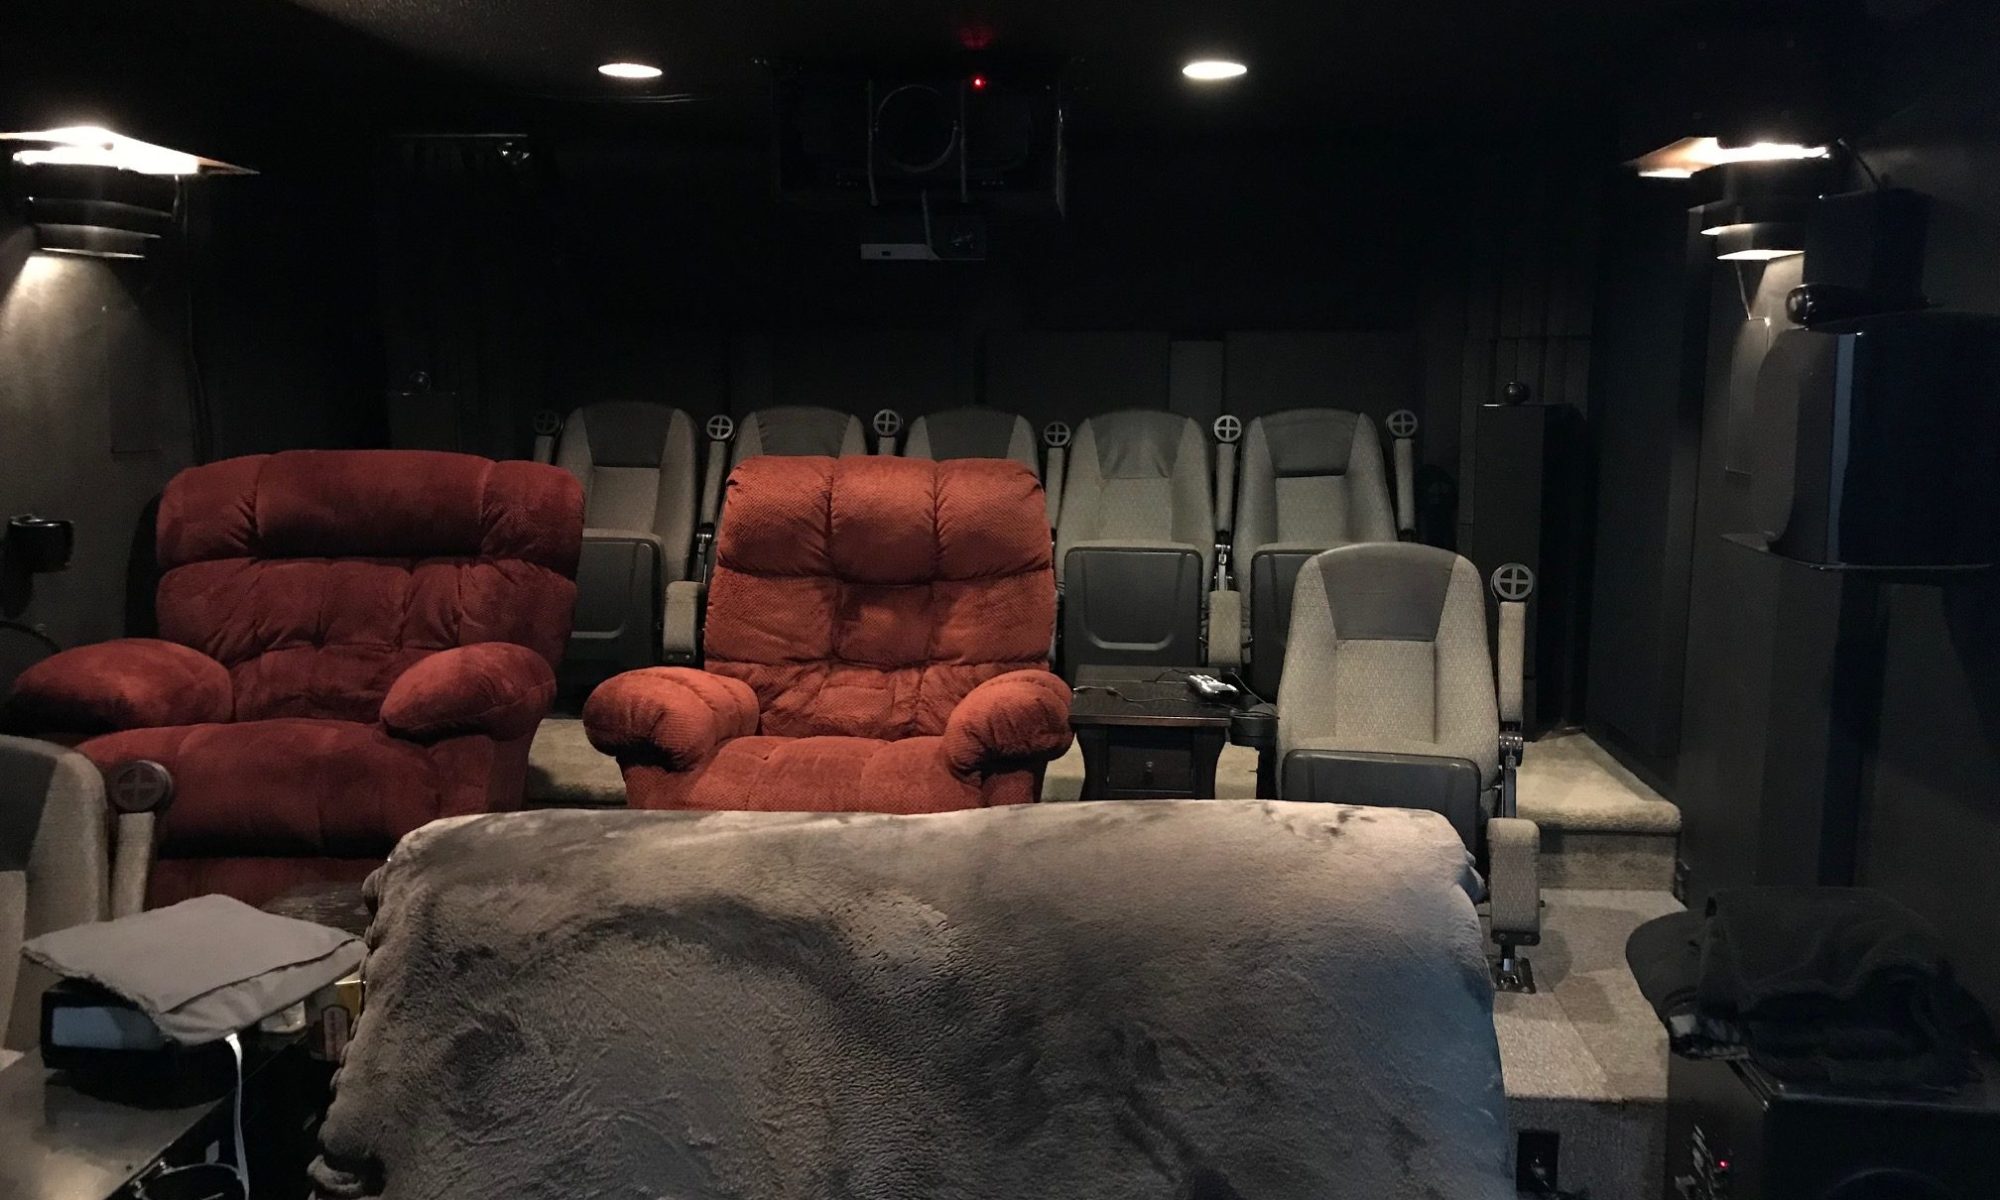
I have written a quick command line app for controlling your JVC projector via command line. It will allow you to send any JVC remote control code to the projector connected to your home network.
The app is written in autoit and the source code file is included.
Here is the included JvcControlCommandList.txt file:
Usage:
Run from command line passing the 2 digit command to execute.
JvcControl {Command}
Example: to switch to USER1:
JvcControl 6C
————————————————————————–
Setup:
Connect your projector to the network and enter its IP address into the
file JvcControlIp.txt which should be in the same folder as JvcControl.exe.
For help connecting your projector to your network see the manual. But
it’s advised to set the projector to a static IP address or assign it a
static IP in the router’s DHCP routing table. Verify connection to the
projector in command prompt using “ping” command. If you cannot ping
the projector, then you cannot communicate with it.
ping 192.168.1.10 <– for example.
————————————————————————–
There is no error checking. If you don’t specify command, nothing will happen.
If you specify garbage for a command, garbage gets sent to the projector and
who knows what happens.
The command list is for the RS1000/N5, RS2000/N7, RS3000/NX9 but JVC hasn’t switch
command codes in ages only adds them. So if your projector supports the function,
the code should work.
————————————————————————–
Full Command List:
01 UP Button
02 DOWN Button
34 RIGHT Button Moves the cursor to right/+ in adjustment gauge
36 LEFT Button Moves the cursor to left/- in adjustment gauge
2F OK Button
03 BACK Button Undisplays message, adjustment gause, menu
05 Powers on
06 Powers off / Stand By
08 Switches Input Port
1D Switches Hide ON/OFF
20 Displays adjustment bar of Iris setting Gauge
23 Switches Anamorphic A
2B Switches Anamorphic B
33 Switches Anamorphic C
45 Switches Anamorphic D
24 Switches Anamorphic off
27 Switches Aspect to Zoom
2E Shows / Hides Menu
30 Displays adjustment of Lens control/Switches setting of lens(focus/zoom/shift)
47 Clear Motion Drive(Off)
48 Clear Motion Drive(Low)
49 Clear Motion Drive(High)
4A Clear Motion Drive(Inverse Telecine)
68 Switches to “CINEMA” in Picture Mode
69 Switches to “FILM” in Picture Mode
6A Switches to “NATURAL” in Picture Mode
6C Switches to “USER1” in Picture Mode
6D Switches to “USER2” in Picture Mode
6E Switches to “USER3” in Picture Mode
CA Switches to “USER4” in Picture Mode
CB Switches to “USER5” in Picture Mode
CC Switches to “USER6” in Picture Mode
6F Switches to “THX” in Picture Mode
70 Switches to HDMI 1
71 Switches to HDMI 2
72 PIC.ADJ. Menu
73 Displays Advanced page of Menu
74 Displays information page of Menu
75 Switches Gamma mode
76 Switches Color Temp mode
88 Switches “Color Profile” in the OSD order (It is different depending on the Picture Mode.)
8A Change of “Clear Motion Drive” settings
AE Aspect(Auto)
AF Aspect(Native)
C5 Change of “Anarmorphic mode”
D0 HIDE(On) – Switches Hide to On
D1 HIDE(Off) – Switches Hide to Off
D2 Solenoid(Normal) – Switches Solenoid to Normal (no input only on test pattern)
D3 Solenoid(Wide) – Switches Solenoid to Wide (no input only on test pattern)
D4 Setting Memory – Open the list of “Setting Memory”
D5 3D Setting – Open “3D Setting” OSD menu
D6 3D Format – Change of “3D format” menu
D7 User – Change of “User picture mode”
F0 MPC – Displays “MPC Level” Menu
F4 Picture Mode – Goes to “Picture Mode” Tab in User Menu
F5 Gamma Settings – Goes to “Gamma” Tab in User Menu
F7 Name Edit – – ? ? ? Goes to “Name Edit” Tab in User Menu
D8 Installation MODE1 – Change of “Installation mode” or “lens memory” to 1
D9 Installation MODE2 – Change of “Installation mode” or “lens memory” to 2
DA Installation MODE3 – Change of “Installation mode” or “lens memory” to 3
E5 Installation MODE4 – Change of “Installation mode” or “lens memory” to 4
E6 Installation MODE5 – Change of “Installation mode” or “lens memory” to 5
E7 Installation MODE6 – Change of “Installation mode” or “lens memory” to 6
E8 Installation MODE7 – Change of “Installation mode” or “lens memory” to 7
E9 Installation MODE8 – Change of “Installation mode” or “lens memory” to 8
EA Installation MODE9 – Change of “Installation mode” or “lens memory” to 9
EB Installation MODE10 – Change of “Installation mode” or “lens memory” to 10
EC Frame Adapter HDR
DB 3D Format (Auto) – Switches 3D format to Auto
DC 3D Format (Side by Side) – Switches 3D format to Side by Side
DD 3D Format (Top and Bottom) – Switches 3D format to Top and Bottom
DE 3D Format (OFF: 2D) – Display by 2D format compulsorily
E1 HLG – Switches to “HLG” in Picture Mode
ED HDR10 – Switches to “HDR10” in Picture Mode
F8 Low Latency – (on/off toggle) Change of “Low Latency mode”
